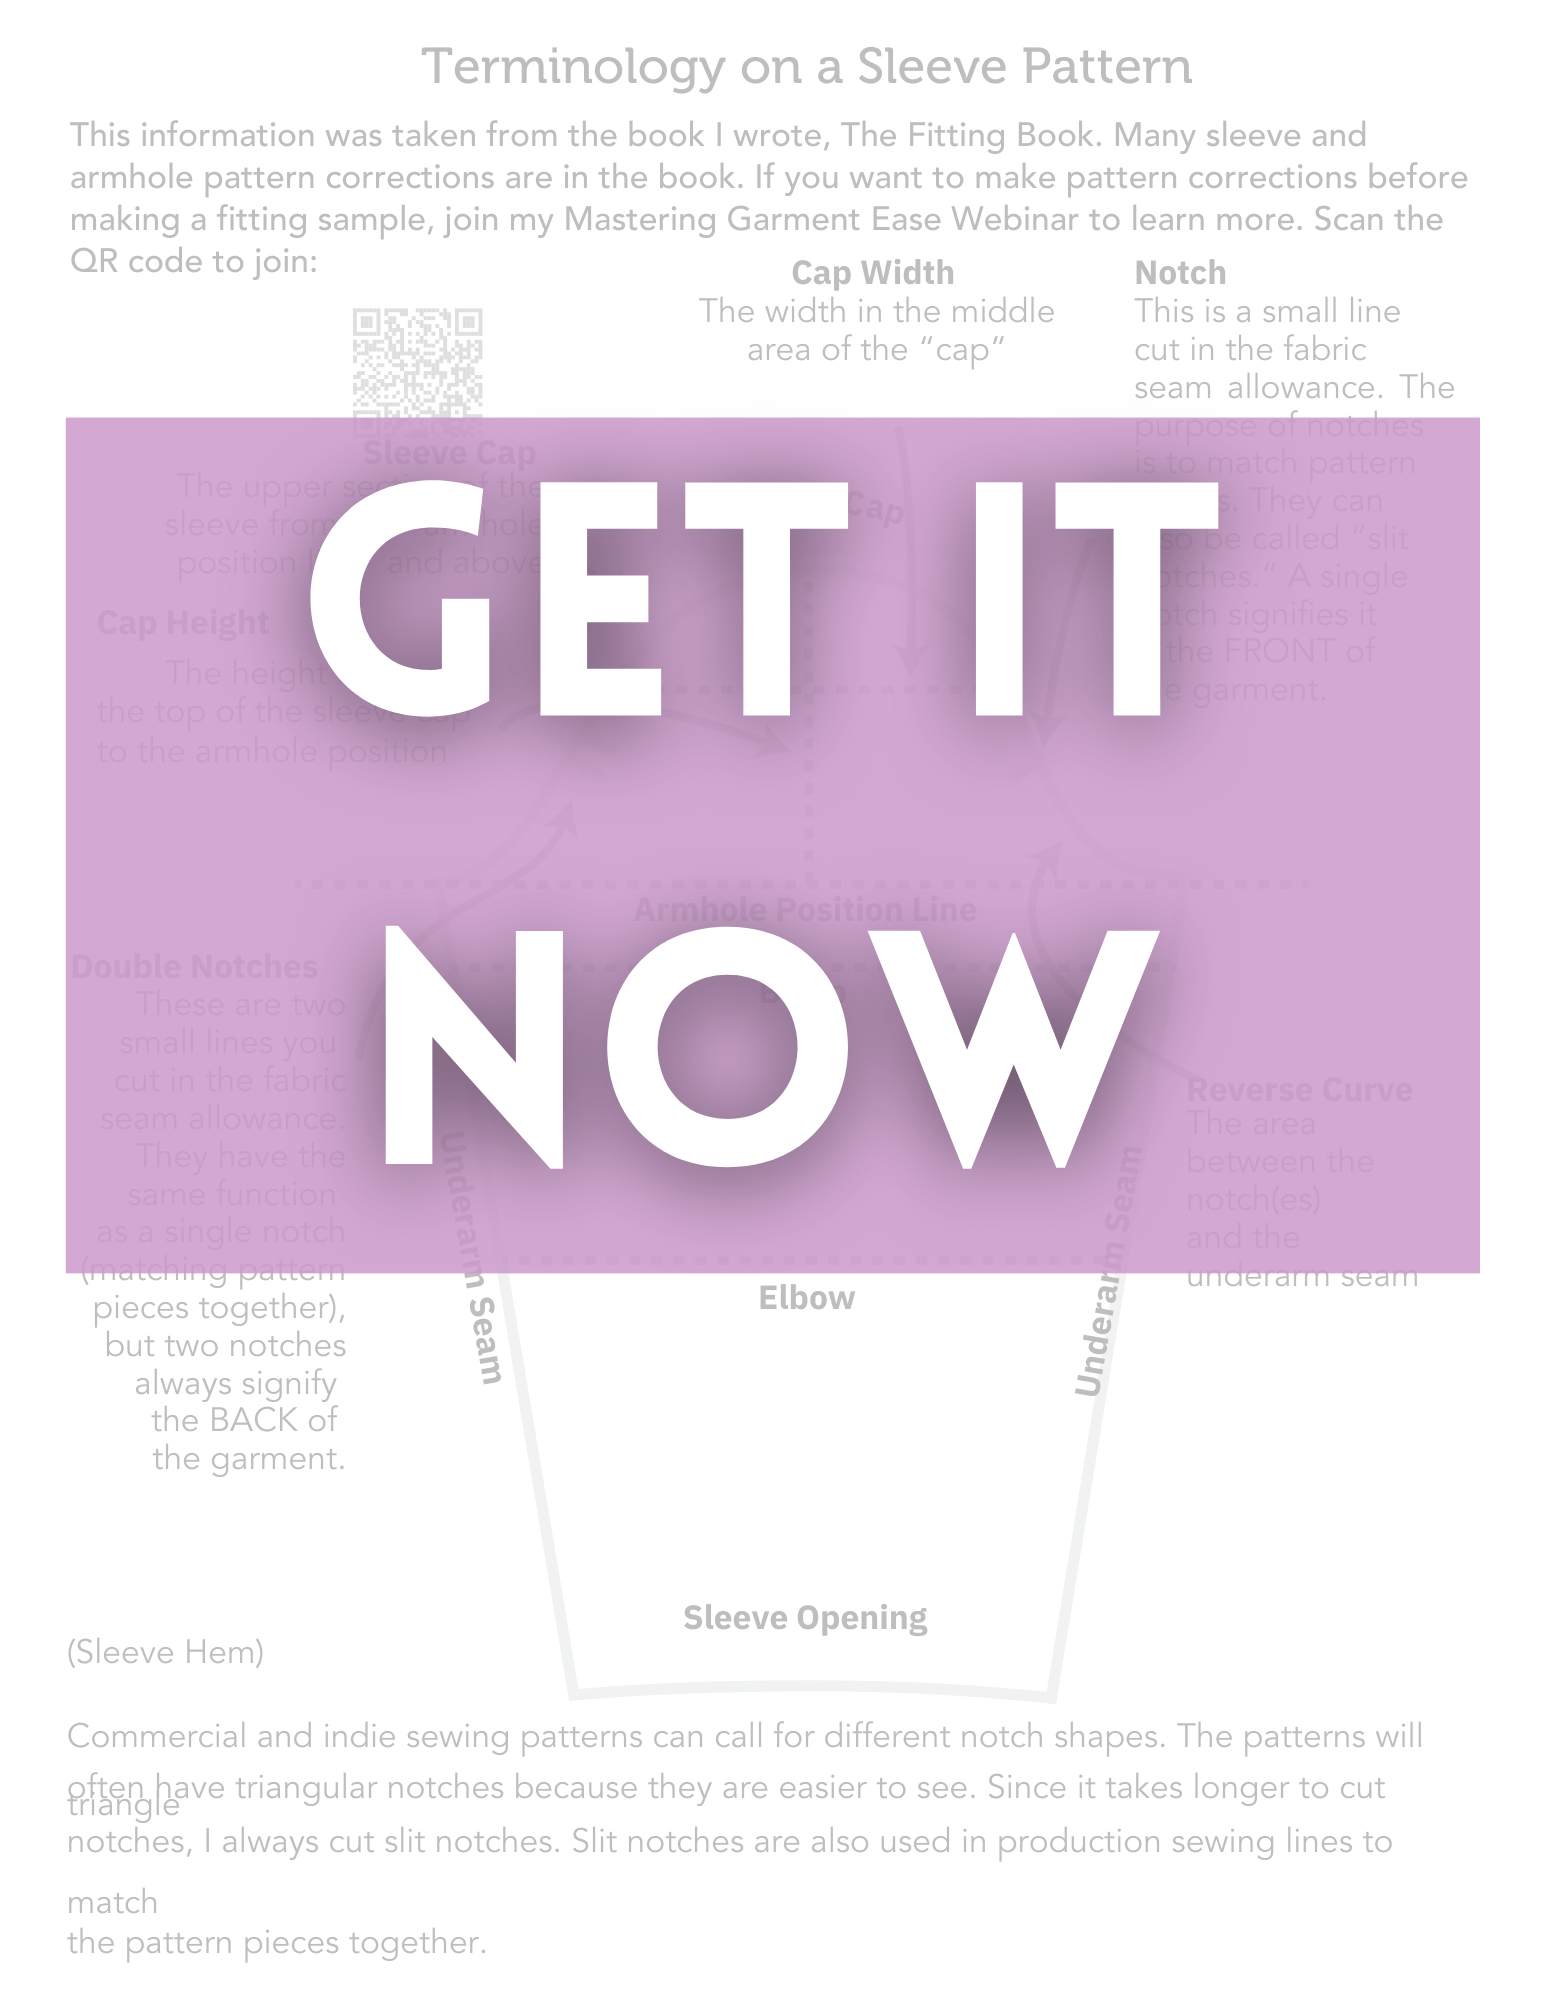
Download Your
FREE Sleeve Terminology Guide
Learn the Components of a Sleeve
to Understand the Different Sleeve Adjustments.
Send me my Free Sleeve Terminology Guide
Sleeve Adjustments Demystified: Get the Perfect Fit
Do you struggle to achieve that perfect fit in the sleeves and arm area of your garments? Fitting sleeves can be a challenging aspect of garment construction, but don’t worry! With the right knowledge and techniques, conquering this challenge becomes achievable. In this post, we’ll explore the variety of sleeve adjustment options available to you and weigh the advantages and disadvantages of each.
Understanding Sleeve Terminology
Before delving into sleeve adjustments, it’s essential to familiarize yourself with sleeve pattern terminology. You can download a comprehensive guide via the form above or refer to my book, “The Fitting Book.” Let’s briefly review key terminology:
Cap Width: The entire area comprising the sleeve cap transitioning into the armhole region. Cap width measures horizontally across the pattern.
Reverse Curve: This is the concave curve transitioning from the convex curve of the sleeve cap. It aids in fitting.
Cap Height: The vertical line from the armhole position to the top of the sleeve cap.
Underarm Seams: These are critical for overall sleeve fit.
Elbow: The point on the sleeve where your arm bends.
Sleeve Opening: The hem or cuff of the sleeve.
Exploring Sleeve Adjustment Options
Now, let’s dive into various sleeve adjustment choices. Each serves a specific purpose and can significantly impact the fit of your garments.
1. Full Bicep Adjustment: When your sleeve feels too tight around the bicep area, consider this adjustment. It makes the sleeve larger, addressing the issue of tightness. When making this correction, you typically open up the pattern, making the bicep area larger, but it may widen the cap width and reduce the cap height. This adjustment suits those who’ve lowered the armhole or need a roomier bicep area.
2. Small Bicep Adjustment: On the other hand, if your sleeve feels overly loose or you can easily pin out excess fabric in the bicep area, a small bicep adjustment may be needed. This adjustment makes the sleeve narrower. This adjustment involves closing or overlapping the pattern to reduce the bicep size. It might increase the cap height slightly. If your pattern already features a raised armhole, this adjustment might work for you.
3. Manual Drawing of Sleeve Adjustment: You can also manually draw adjustments to fine-tune the sleeve fit. For instance, you can reduce cap width while increasing cap height or vice versa. This method allows for tailored corrections to meet your specific preferences. Sometimes, you may prefer to draw sleeve adjustments manually. You can reduce the cap width while increasing the cap height or vice versa, depending on your specific needs. Remember that this method requires understanding your desired fit and armhole adjustments.
Choosing between these corrections depends on how the garment feels during fitting and your established ease preferences. Your comfort and the functionality of the garment are what matters the most. It’s a subjective decision, so consider your unique fit requirements.
Sleeve Adjustments: Not as Difficult as They Seem
Making sleeve adjustments might sound daunting, but the actual corrections are straightforward. The real challenge lies in fitting the adjusted sleeve back into the armhole, which requires a bit of trial and error. As you become more familiar with your preferred ease and negative ease amounts, these adjustments will become second nature.
Sleeve adjustments are crucial to achieving a perfect fit in the arm area of your garments. With a solid understanding of your preferences and the proper techniques, you can confidently conquer this aspect of pattern adjustment. Download your FREE Sleeve Terminology Guide through the form above, and take the first steps into dialing in your perfect sleeves.