
Fixing Neck Gaping – Princess Seams from the Shoulder
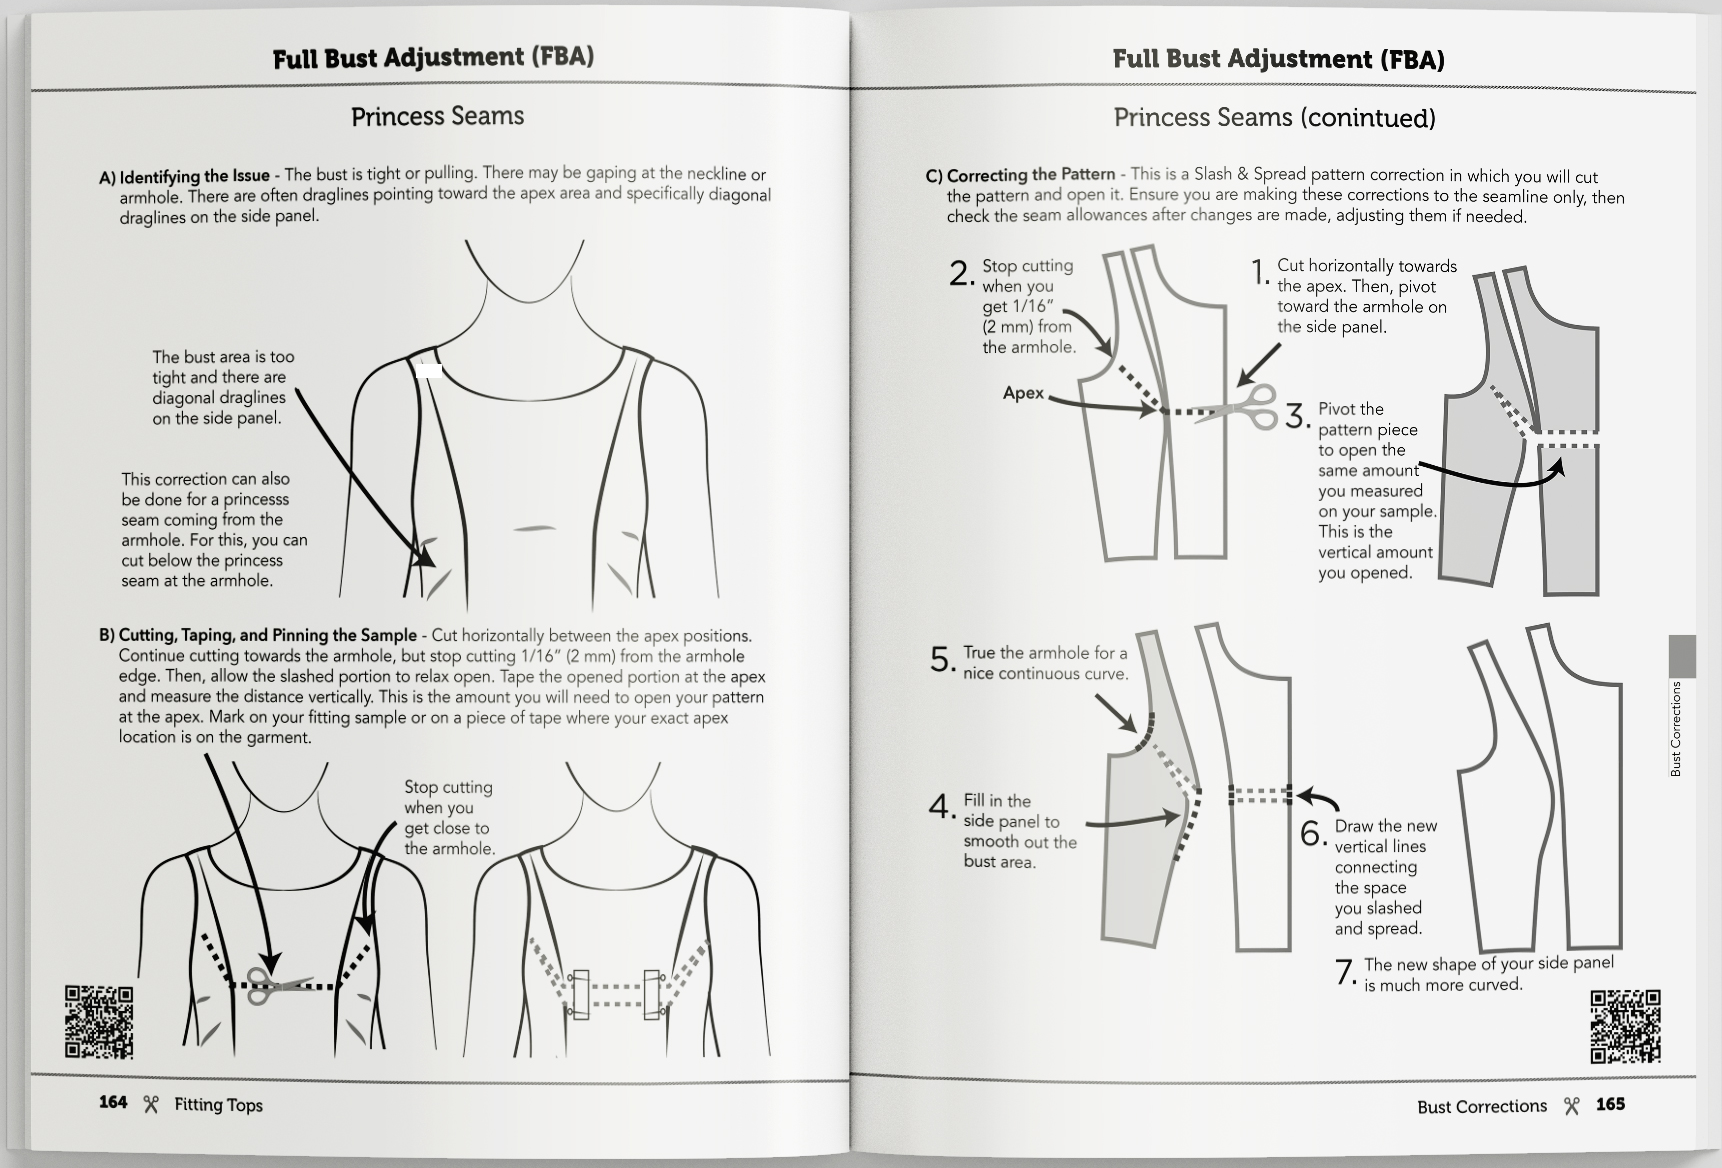
In this post, the correction discusses front neckline gaping issues with a princess seam that comes from the shoulder. For princess seams, you can apply this correction to both front and back panels.
The first thing you need to check is the neck width difference between your front and back pattern.
1. Pin any excess in the front neck area and measure that amount. This is the amount the neck width needs to reduce in the front.
2. Do the next two steps as we discussed in the first post. Lay the front panel on the back and consider any zippers or placket at the center front.
3. You want your front neck width to be the same or slightly smaller than the back (including half of your CF zipper width or placket).
4. You could sew a second muslin if your neck widths were not matching. If you still have gaping after your neck widths align, pin that amount and measure it.
5. Mark the pattern in that area and the width you’ve measured.
6. This will give more shape to the princess seams above the bust.
7. Redraw the neckline to be smooth and continuous at the slashing area.
Don’t forget to include the placket widths and zipper widths when you check the front neck to the back neck!
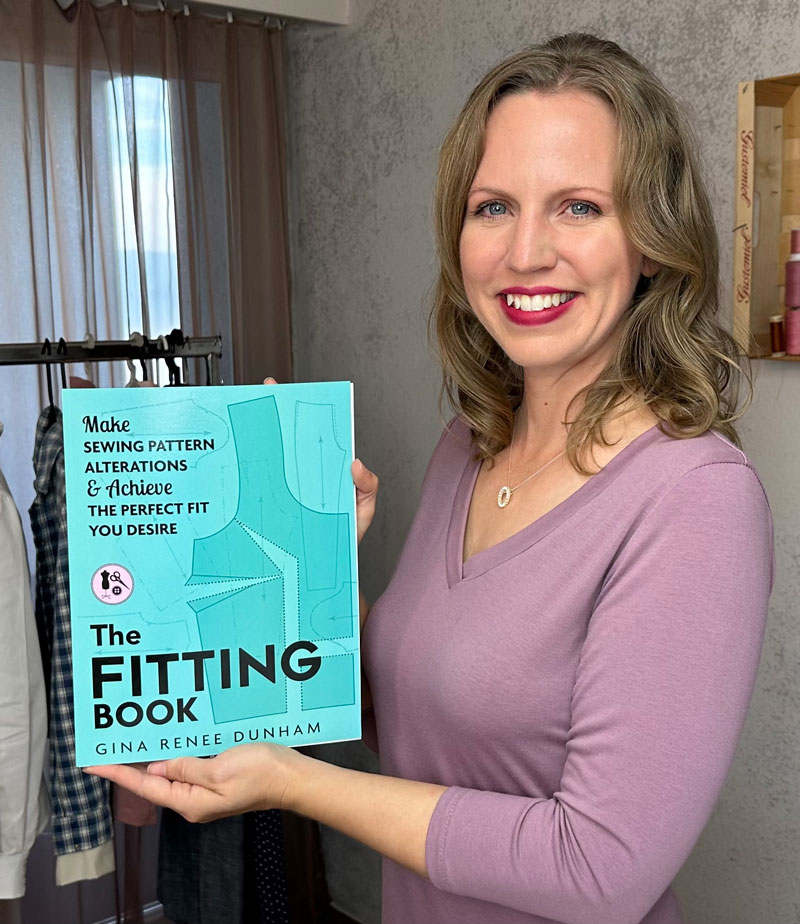
This information and more can be found in The Fitting Book. Order your book today through the link below.
Learn the 3-Step Fitting Process:
A) Identify the Fitting Issue.
B) Pin, Cut, & Tape the Fitting Sample.
C) Correct the Sewing Pattern.

The Fitting Book Includes:
Tops
Pants
Skirts/Dresses
My Secret in Diagonal Draglines
ACHIEVE THE
CUSTOMIZED FIT
YOU WANT

