
Fixing Back Neck Gaping – Step 1: Width Correction
In some body types, we don’t want the front neck width to be smaller than the back neck width. This is the first thing we check if you have back neck gaping.
1. Pin the amount that’s gaping on your sample. And measure the amount pinned.
2. Place your front pattern piece on top of your back pattern piece, aligning the HPS.
3. If the Back pattern piece neck width is wider than the front neck width, you will want to reduce the back neck width. This is only when you have Back Neck gaping! Make sure to account for the zipper tape if you have an exposed zipper. You usually allow about 1/4” (0.6 cm) for half of the exposed zipper width.
4. You will move the back neck width in at the HPS the amount that is needed to make neck widths the same.
5. Move in the LPS in order to have the same shoulder length as the front.
6. If the amount you’ve moved HPS is smaller than the amount you’ve pinned, you will need to continue on to the step in the next post. If the amount you’ve moved the HPS is equal to or slightly bigger than the amount you pinned, your correction is finished.
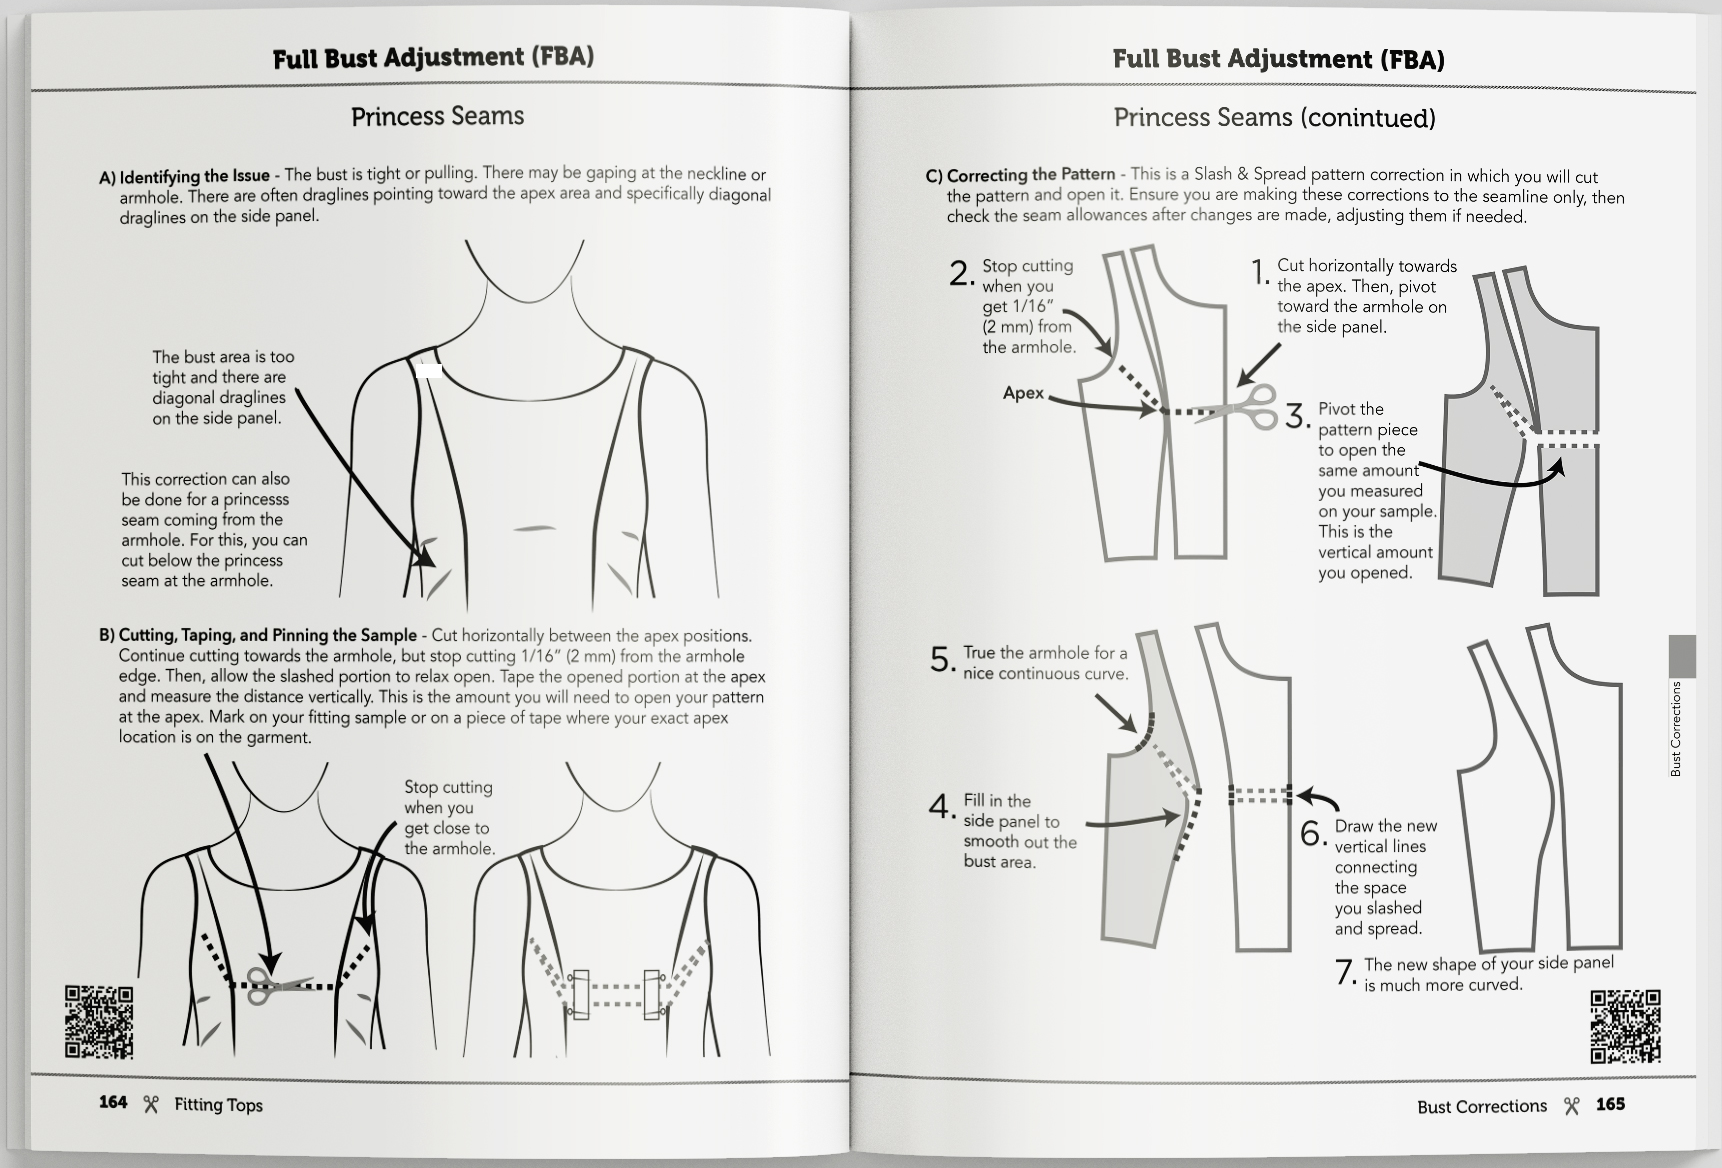
Remember, if you have a princess seam, apply the same corrections used for the front neck panel. Find the corrections for princess seams from the armhole here, and for princess seams from the shoulder here.
This information and more can be found in The Fitting Book. Order your book today through the link below.
Learn the 3-Step Fitting Process:
A) Identify the Fitting Issue.
B) Pin, Cut, & Tape the Fitting Sample.
C) Correct the Sewing Pattern.

The Fitting Book Includes:
Tops
Pants
Skirts/Dresses
My Secret in Diagonal Draglines
ACHIEVE THE
CUSTOMIZED FIT
YOU WANT

