
Fixing Armhole Gaping – Adding Darts
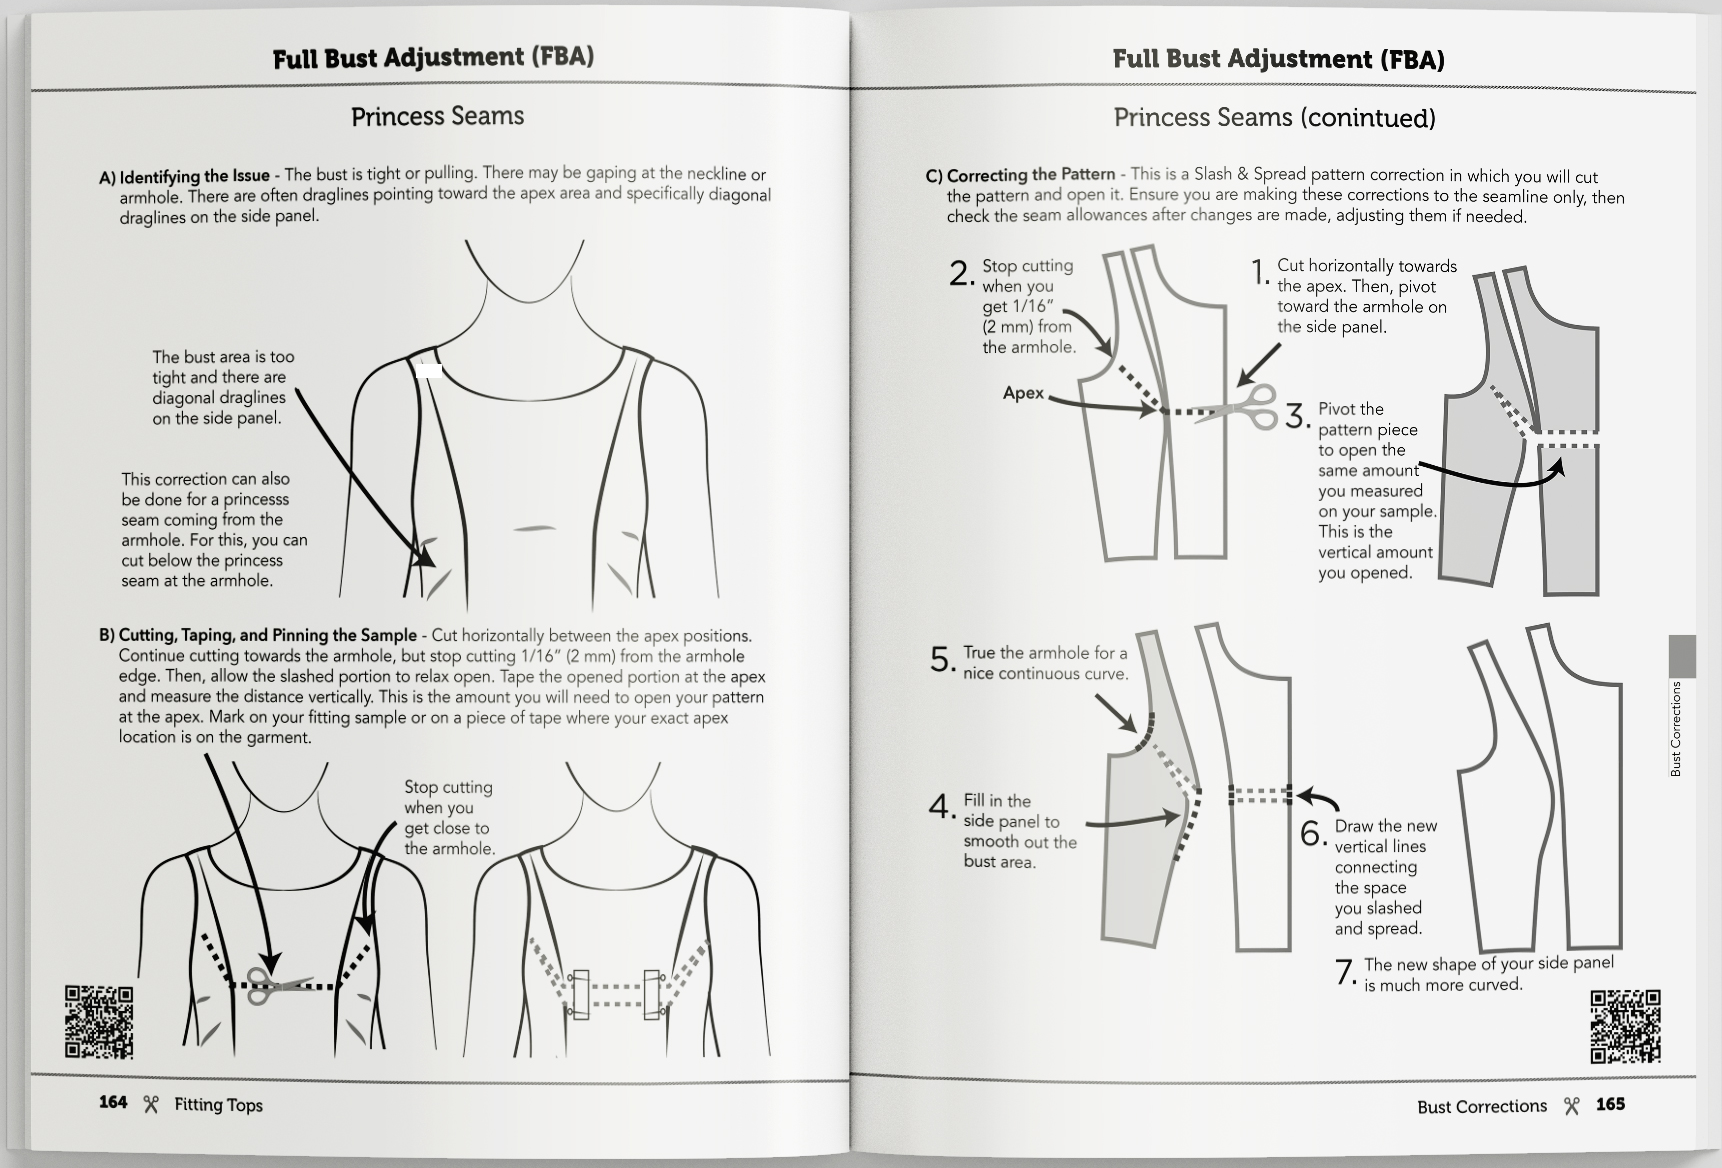
This correction is for styles that have no darts. However, to fix the problem of the gaping armhole, I suggest adding a dart. You could alternatively make that dart a pleat depending on your design, too (pleats would generally look nice coming from the shoulder seam, empire waistline or neckline, but not from the side seams).
Here’s how to do it:
1. Pin the amount that’s gaping. Do it in the direction of the Apex. And mark your apex position on your pattern.
2. Measure the amount and locations you’ve pinned and marked. Then mark the pattern that location and amount, extending the line to the Apex
3. Mark a line indicating where you want your new dart (or pleat) and cut up that line to the Apex.
4. Close the “pinned” amount.
5. The dart (or pleat) depth is automatically created.
6. Redraw the point of the dart to finish around 3/4- 1” from the Apex (depending on your cup size)
That’s it! It’s essentially the same correction as the previous post, but just with another method. It’s great to have so many options in pattern making, don’t you agree?! 💜😊
The sleeve correction for this style is the same for this little series and will be in a separate post.
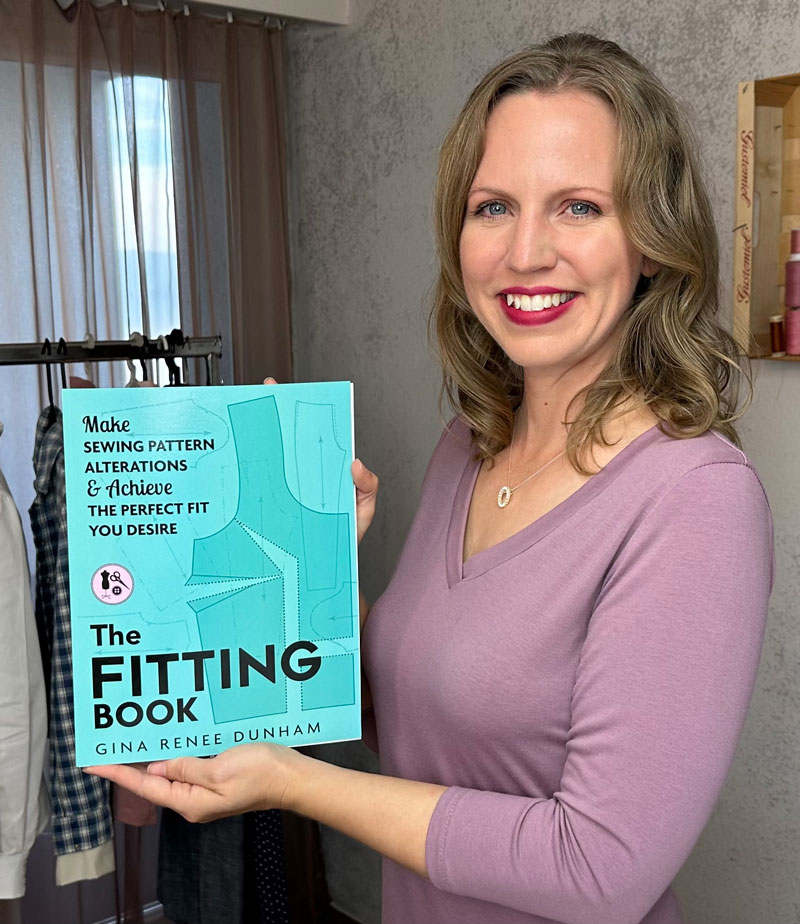
This information and more can be found in The Fitting Book. Order your book today through the link below.
Learn the 3-Step Fitting Process:
A) Identify the Fitting Issue.
B) Pin, Cut, & Tape the Fitting Sample.
C) Correct the Sewing Pattern.

The Fitting Book Includes:
Tops
Pants
Skirts/Dresses
My Secret in Diagonal Draglines
ACHIEVE THE
CUSTOMIZED FIT
YOU WANT

