
Full Bust Adjustment – No Darts or Princess Seams
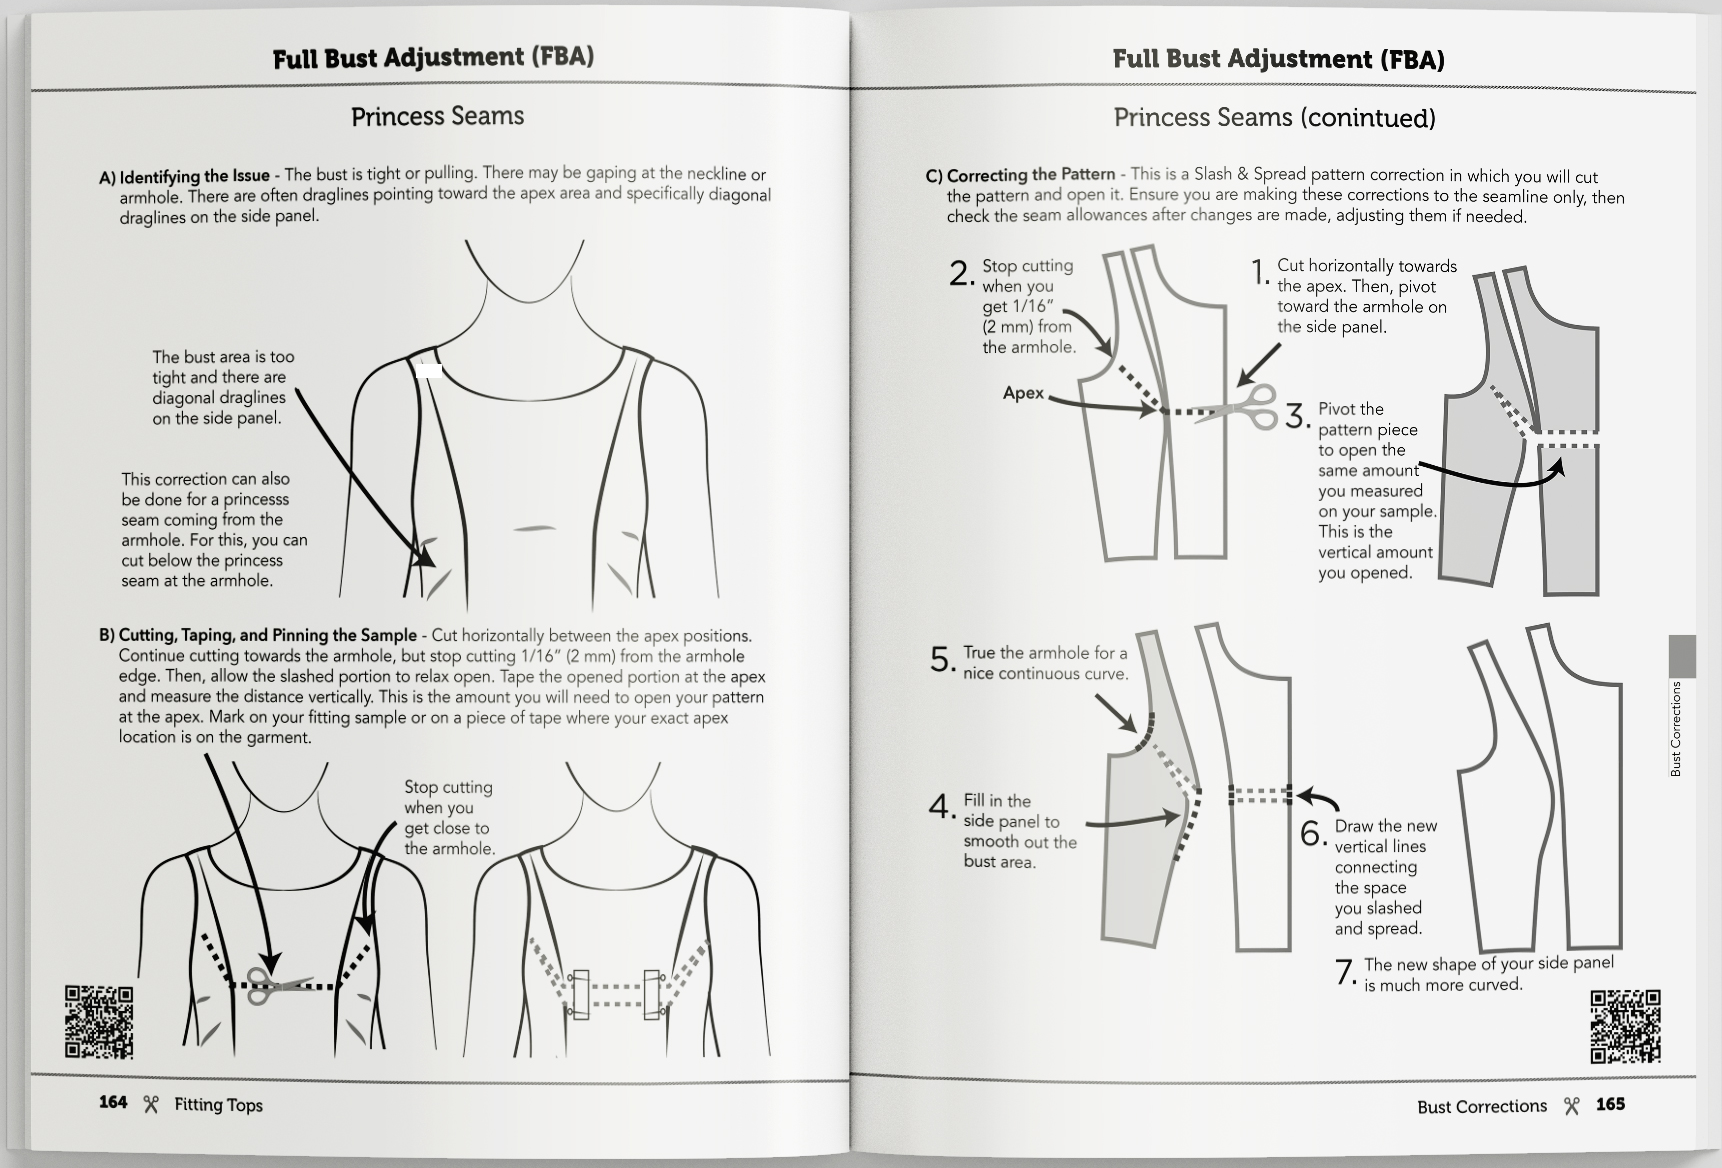
1. If you have a tight bust area and diagonal drag lines on the side panel, cut open your sample as shown, stopping just before you get to the armhole.
2. Open the amount needed, tape, pin, and measure it.
3. Come back to the pattern and mark that amount at the side seam armhole area.
4. Draw around the pattern starting at the LPS (Low Point Shoulder), going along the neckline, CF and waistline.
5. Now, pivot from the LPS until you reach the side seam mark.
6. Draw in the armhole.
7. Then pivot from that new armhole position down to the waistline.
8. Draw in the side seam.
The nice thing about this adjustment is that it only increases the bust. The waist and the armhole stay as it is and doesn’t increase. However, you do need to add a little to the back sideseam length to match the new front sideseam length.
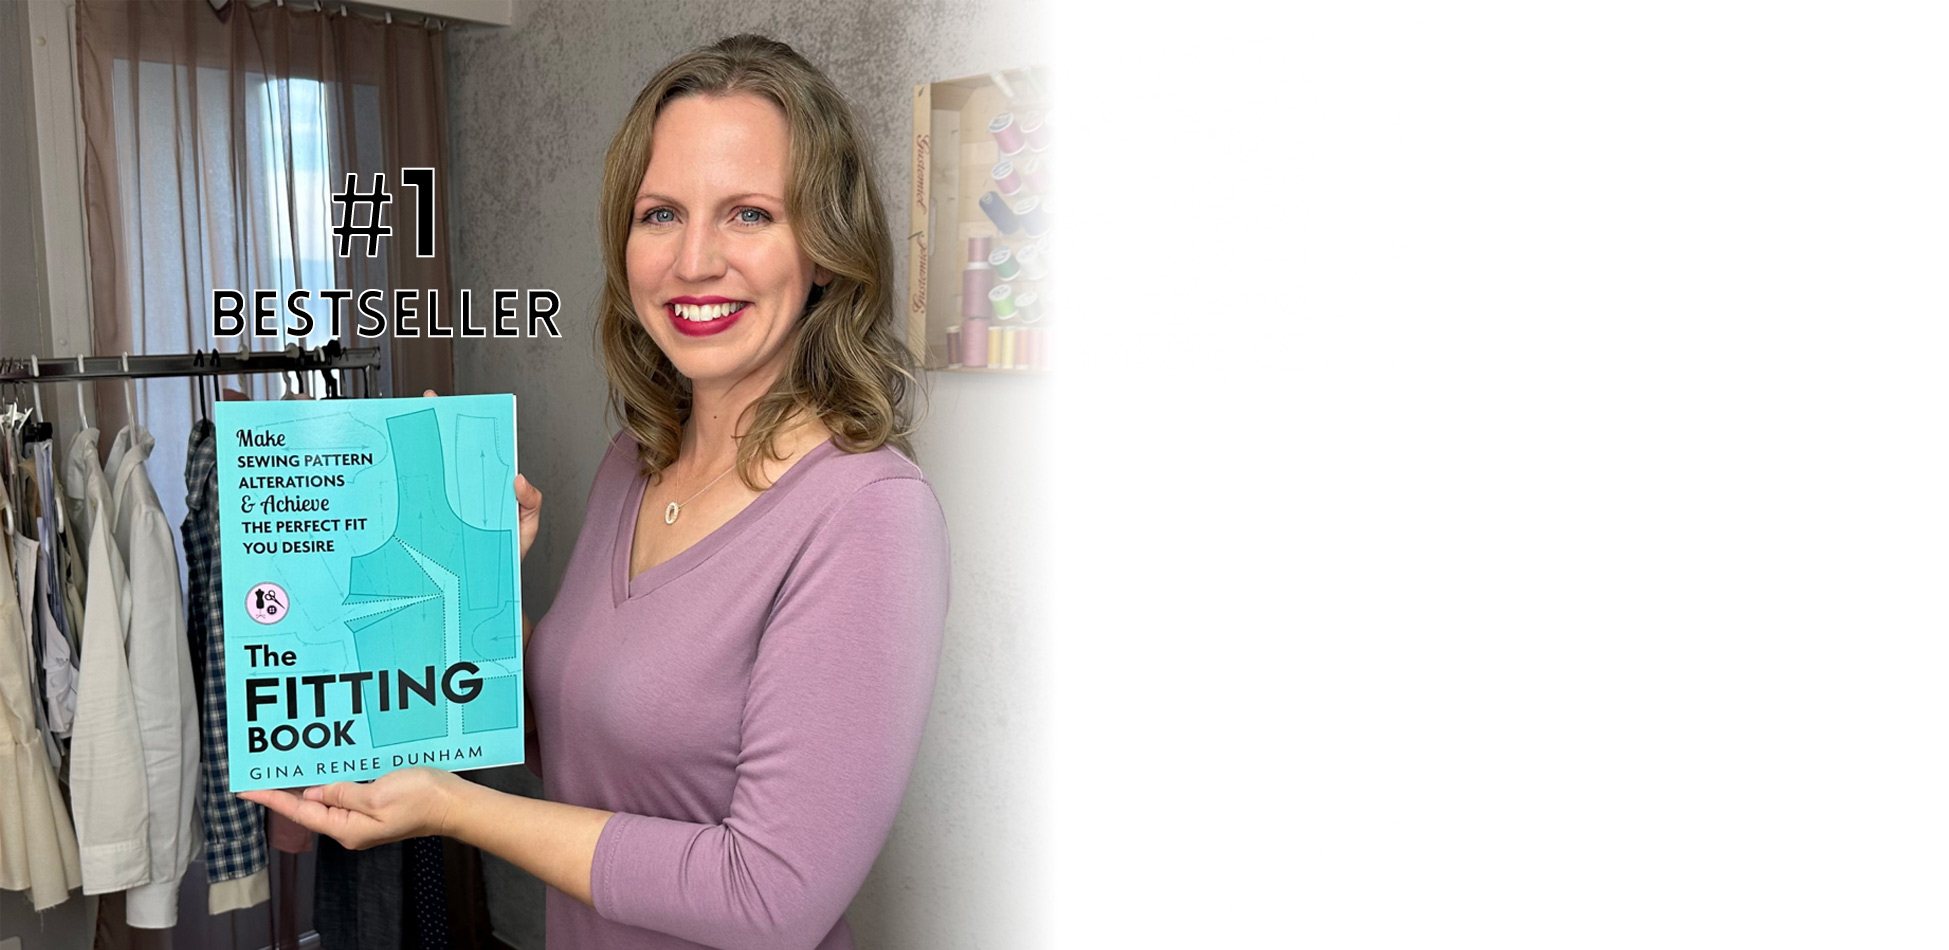
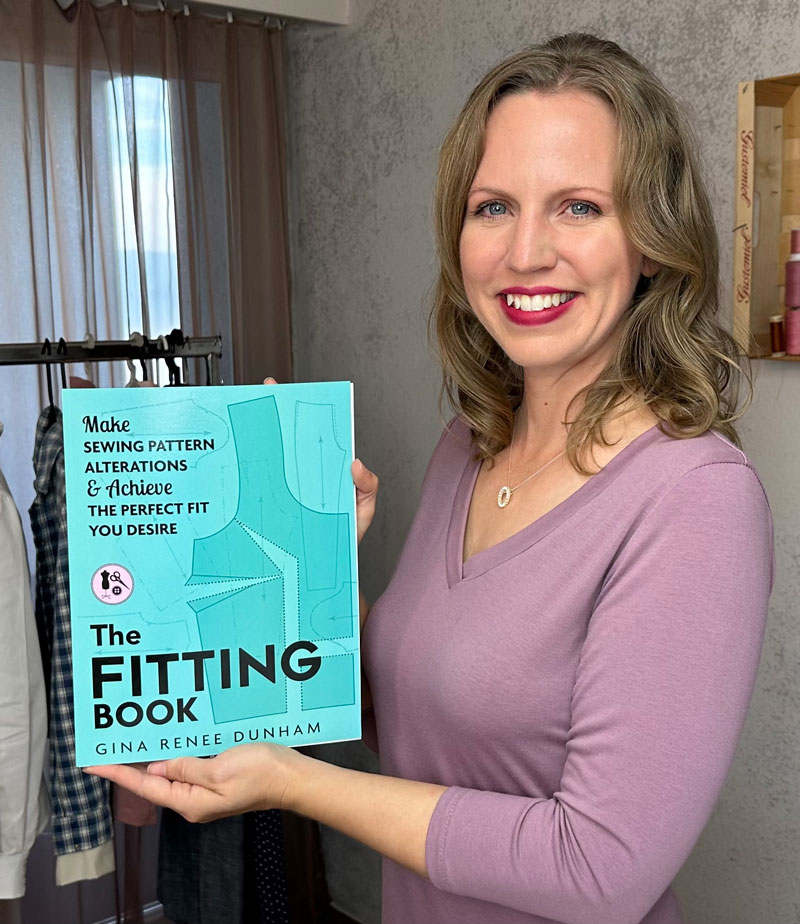
This information and more can be found in The Fitting Book. Order your book today through the link below.
Learn the 3-Step Fitting Process:
A) Identify the Fitting Issue.
B) Pin, Cut, & Tape the Fitting Sample.
C) Correct the Sewing Pattern.

The Fitting Book Includes:
Tops
Pants
Skirts/Dresses
My Secret in Diagonal Draglines
ACHIEVE THE
CUSTOMIZED FIT
YOU WANT

