
Fixing Armhole Gaping – Patterns with Side Darts
This correction is also an alternative to a full bust adjustment, meaning you could take the bust size of your pattern and reduce the armhole instead. However, bear in mind that sometimes you’ll need to also adjust the bust to complement this correction.
To reduce the gaping on a style with a side dart, follow these steps:
1. Pin the amount that’s gaping. Do it in the direction of the apex.
2. Measure the amount and locations you’ve pinned. Then mark the pattern that location and amount.
3. Also, draw a straight line from the point of the dart towards the apex. Draw another line from the pinned area towards the apex. This cross-point becomes your pivot point later.
4. Notice when you pin the sample, did the armhole become too high in the feeling of your garment?
5. Trace around the pattern, starting at the upper position of the pinned armhole, stopping at the point of the dart.
6. Pivot the pattern at the apex until the lower pinned line meets the previous tracing position.
7. Draw the lower part of the armhole and upper dart position.
8. Smith the armhole and finish the dart 1“ from the apex.
9. If the armhole felt too high after you’ve pinned it, you could lower the armhole the amount you feel is necessary.
The sleeve correction for this style is the same for this little series and will be in a separate post.
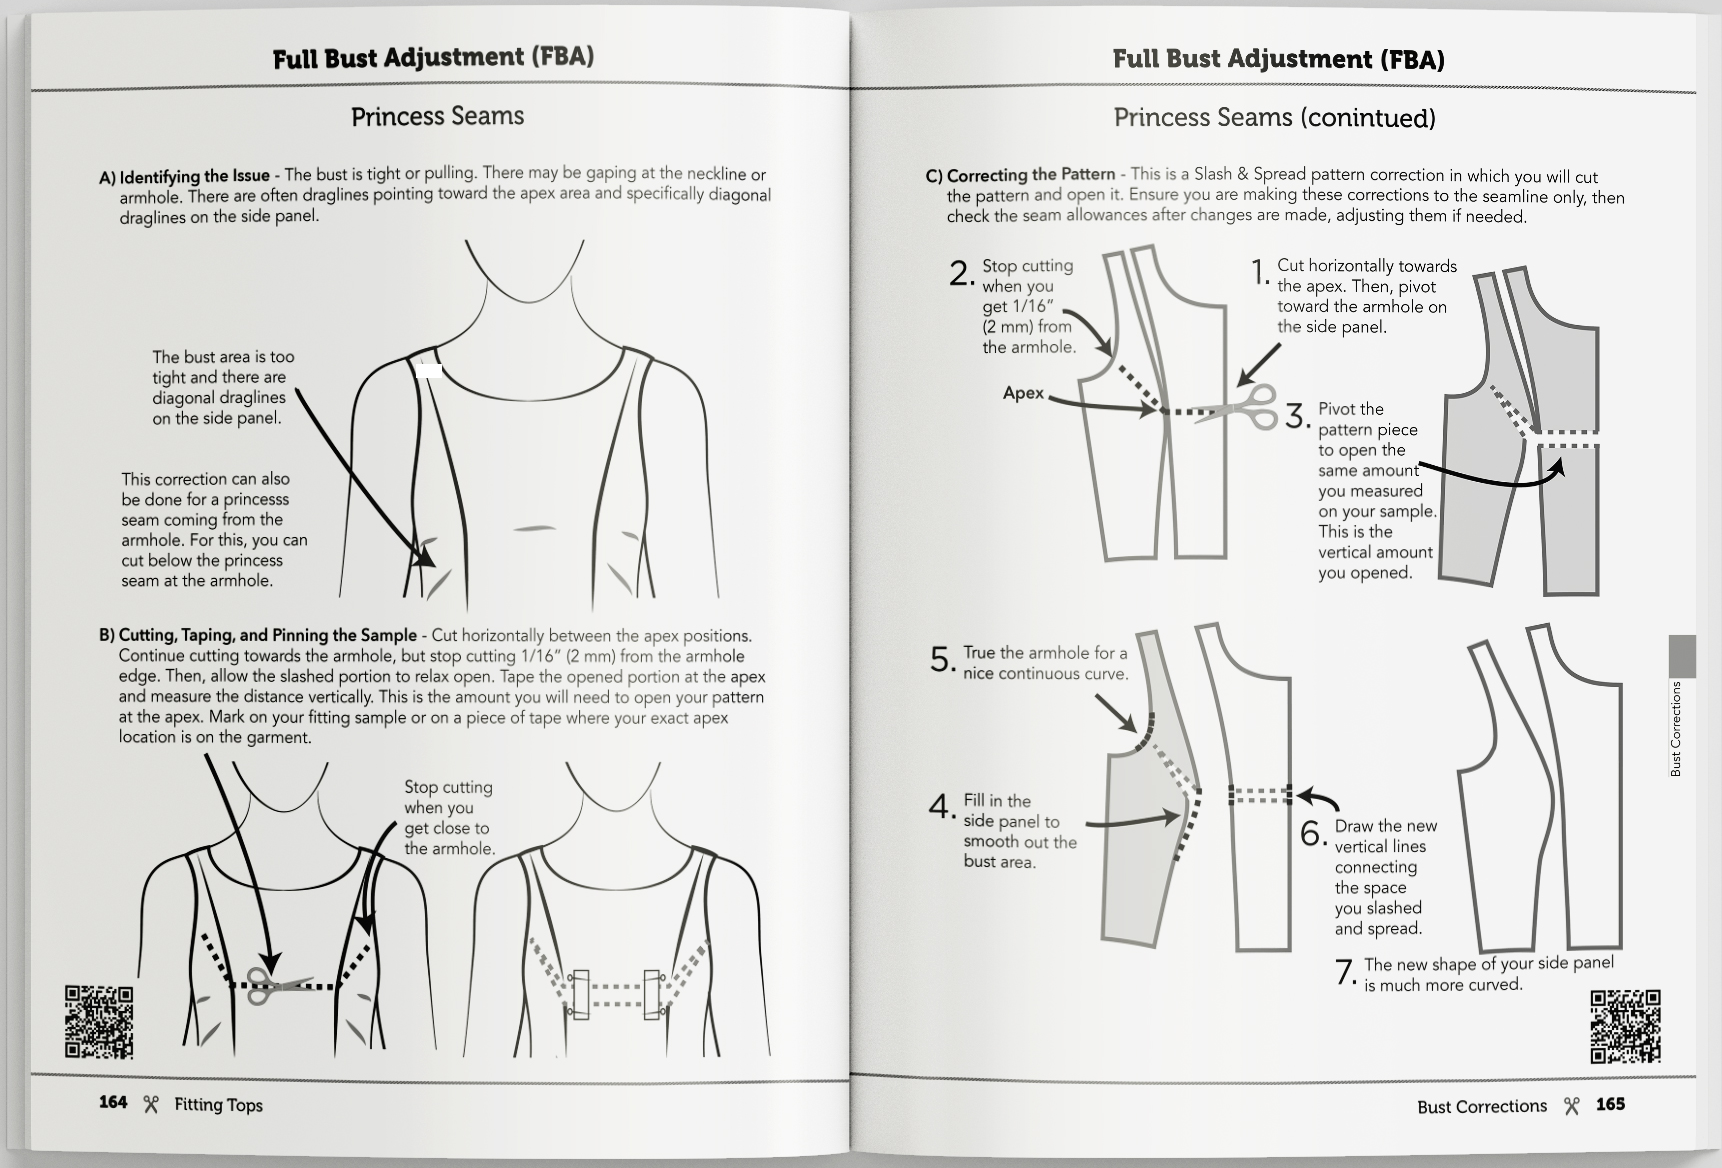
This information and more can be found in The Fitting Book. Order your book today through the link below.
Learn the 3-Step Fitting Process:
A) Identify the Fitting Issue.
B) Pin, Cut, & Tape the Fitting Sample.
C) Correct the Sewing Pattern.

The Fitting Book Includes:
Tops
Pants
Skirts/Dresses
My Secret in Diagonal Draglines
ACHIEVE THE
CUSTOMIZED FIT
YOU WANT

